You found a quiz. You hit Start. The sidebar vanishes, the header strips down, and suddenly it's just you, a question, and four options staring back at you.
Most candidates treat this moment the same way every time: start at question 1, agonize over each one in order, and rush through the last ten when they realize they're running low on steam. That approach leaves marks on the table — marks they actually knew, lost to poor time management, not poor knowledge.
This tutorial shows you how to stop doing that.
The Interface
Three zones:
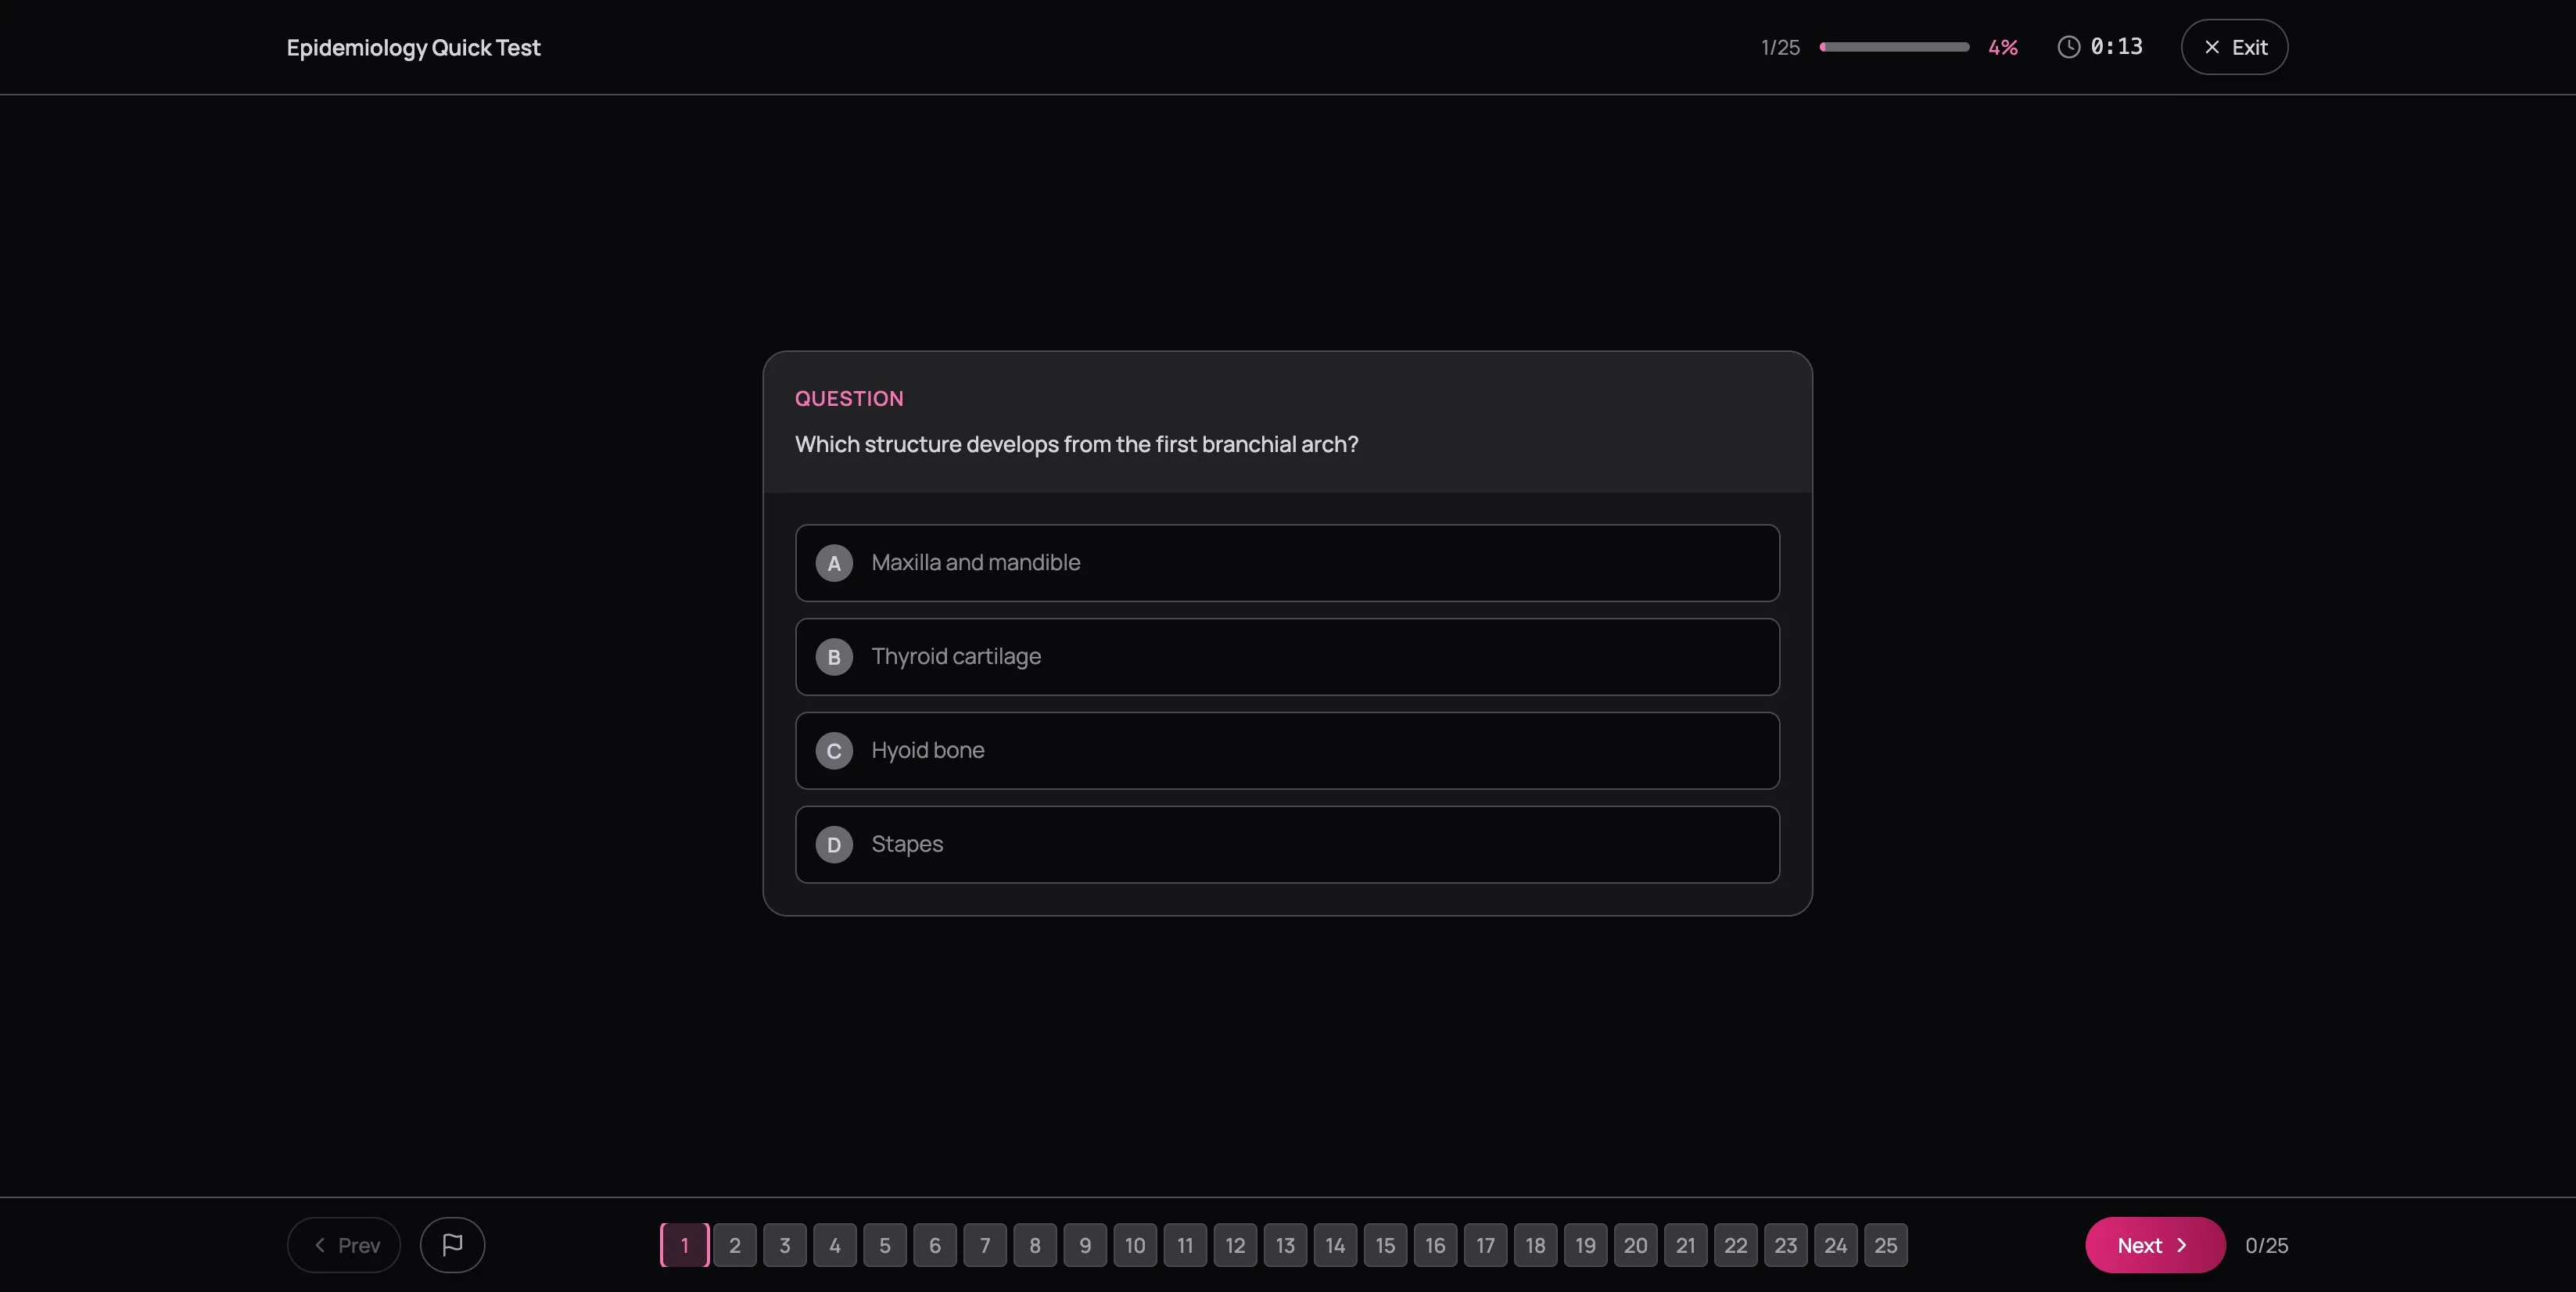
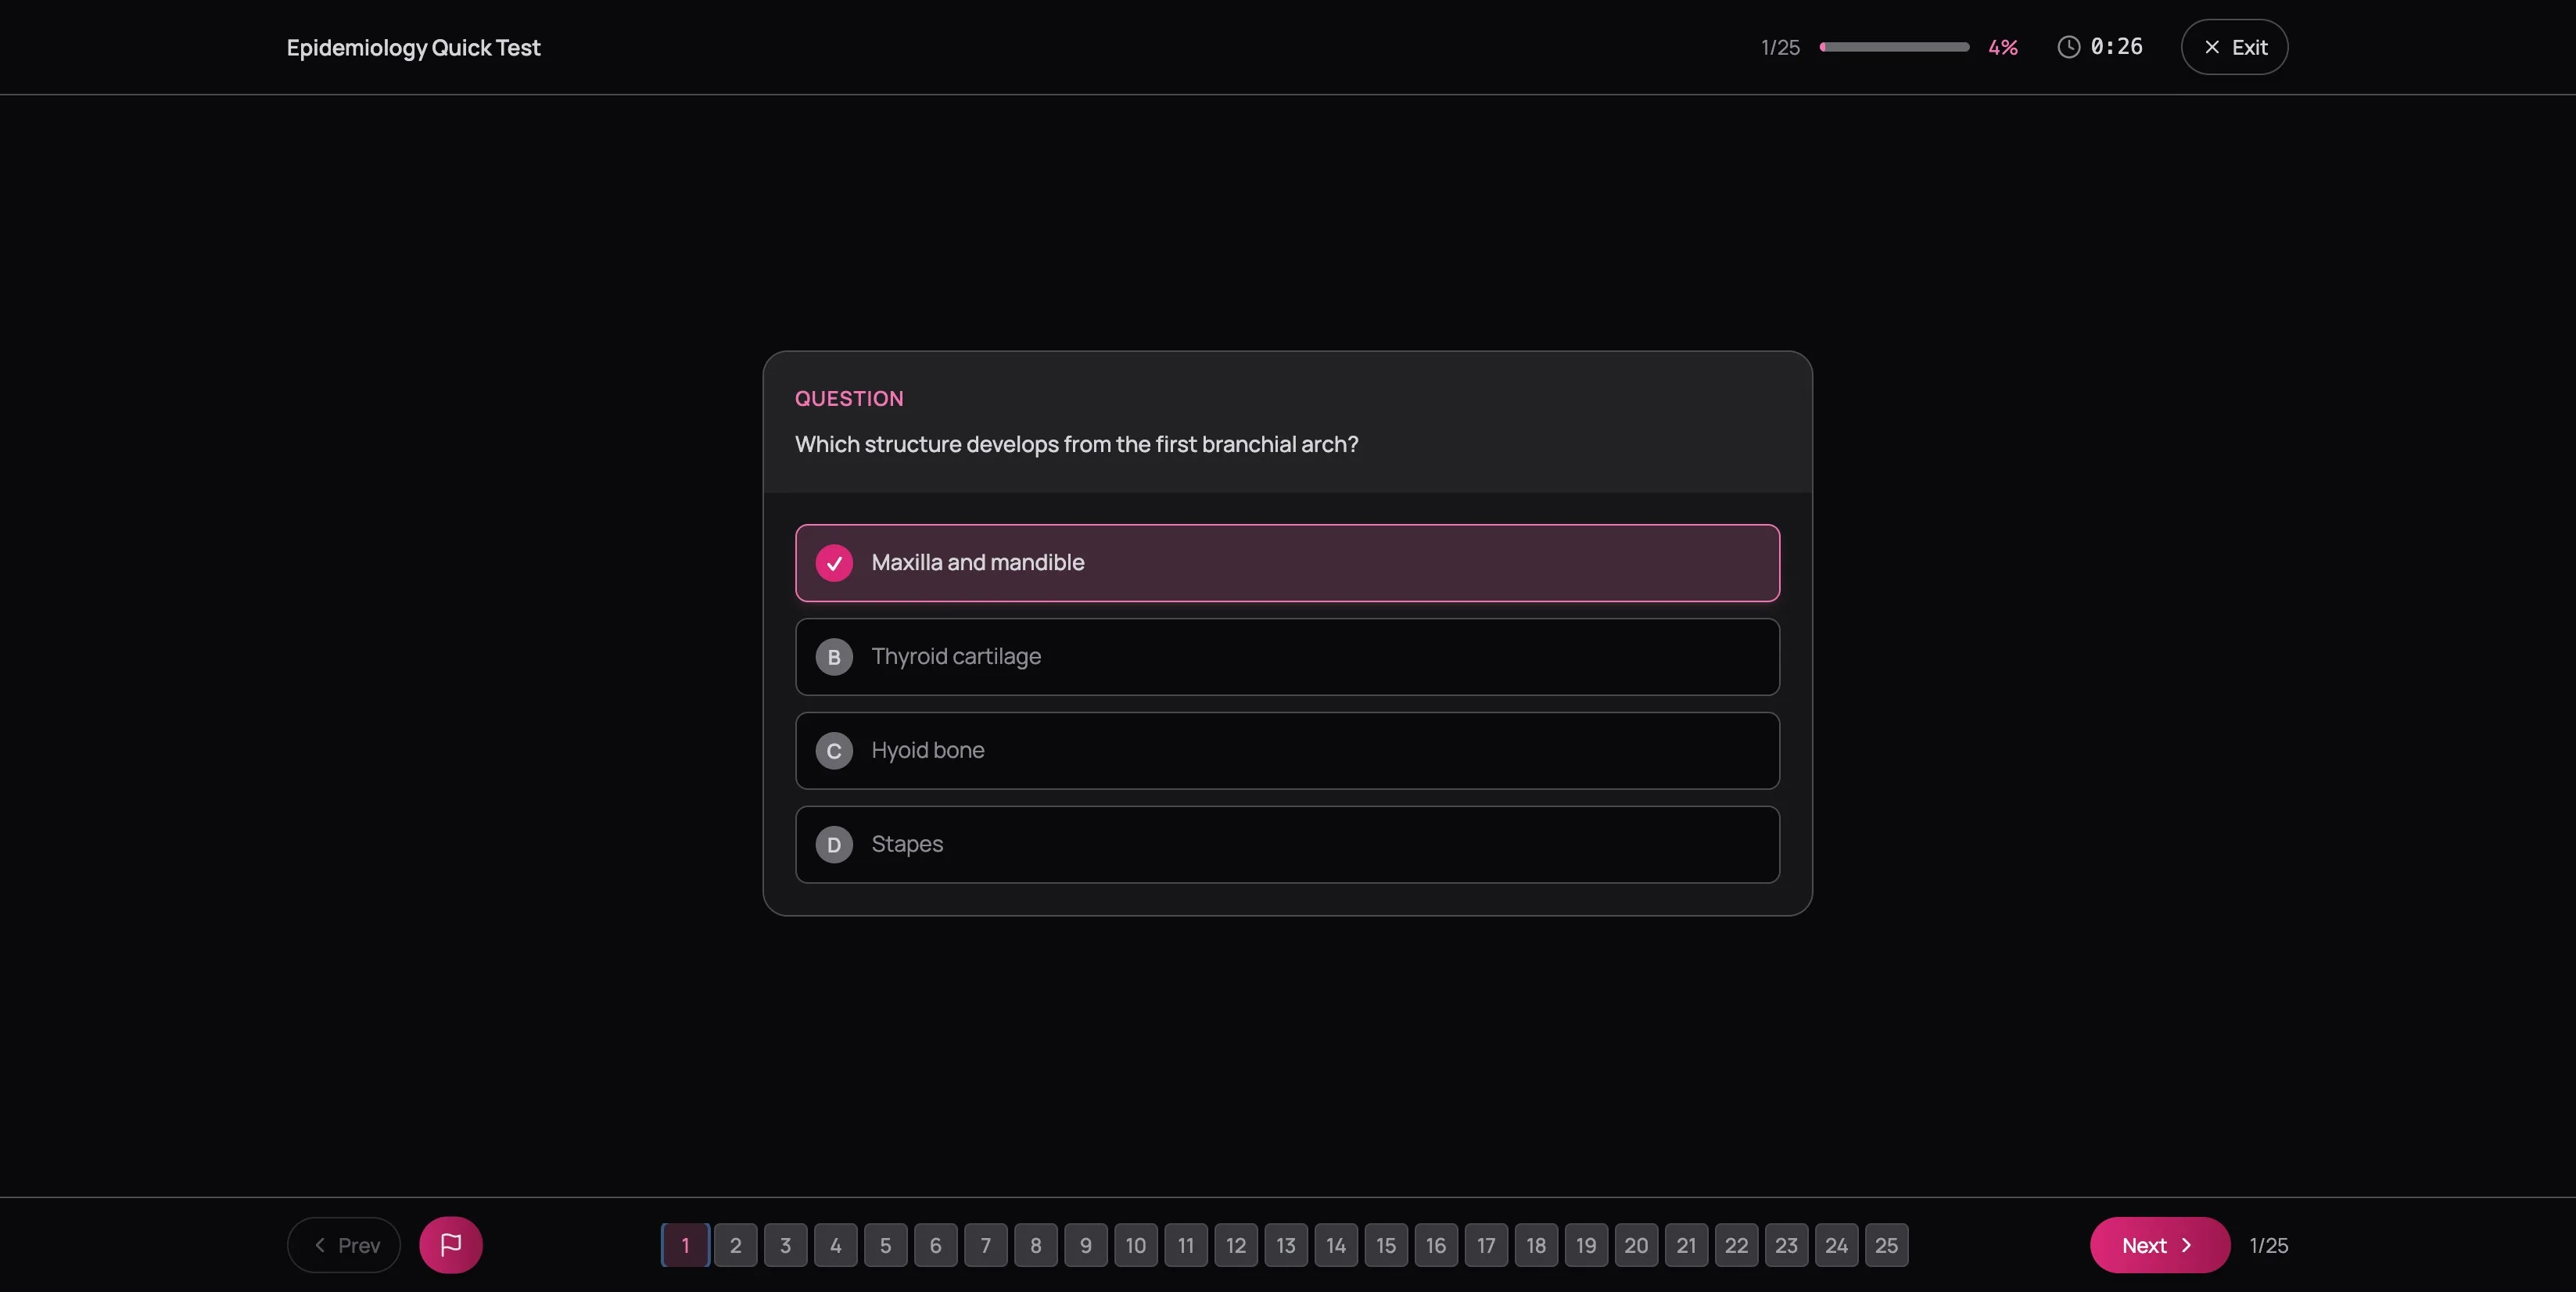
- Top bar — quiz title, progress (question number + percentage bar), elapsed timer, and Exit
- Center — the question card with the stem and four options (A through D)
- Bottom bar — Prev/Next buttons, flag button, the question grid, and your answered count
The timer counts up, not down — there's no countdown cutting you off. This is deliberate. Learn first. Build speed later. Accuracy before velocity. If you're getting questions wrong because you don't know the material, going faster won't help — go back to the Learning Centre. But if you're getting them right and just need to pick up the pace, that comes naturally with reps. Don't rush what you haven't learned yet.
Answering and Navigating
Click an option to select it — it highlights in pink with a checkmark. Change your mind? Click a different option. Your last selection is what counts when you submit.
The AFK, INBDE, and ADAT do not deduct marks for wrong answers. A blank is a guaranteed zero. A guess gives you at least a 25% chance. This changes everything about how you should approach uncertain questions — pick something, flag it, and move on. Never leave a question blank.
Flagging and the Question Grid
The numbered grid along the bottom is your map of the entire quiz. Each tile tells you a question's status:
- Current question — highlighted ring in your accent color
- Answered — green background
- Flagged for review — blue ring around the number
- Untouched — dark, muted background
Click any number to jump directly to that question — no more clicking Next fifteen times to find the one you skipped.

The flag button sits next to Prev in the bottom bar. See a question you're not fully confident about? Flag it. A blue ring appears on its tile in the grid. Flagging doesn't change or lock your answer — it's a bookmark for your second pass.
Most people under-flag. They think flagging means "I have no idea" when it should mean "I'm not 100% sure." If you're choosing between two options and going with your gut, flag it. You can always unflag later. The real cost isn't flagging too many — it's forgetting to revisit the ones that needed a second look.
Case Scenarios
If you're preparing for the INBDE or ADAT, some questions come in groups — you'll know when you see one. A clinical scenario appears pinned on the left: a patient presenting with symptoms, radiographic findings, and medical history (the "patient box"). Multiple questions on the right all reference that same case. A label like "Questions 4–6 • Question 1 of 3 for this case" tells you exactly which questions share the scenario.
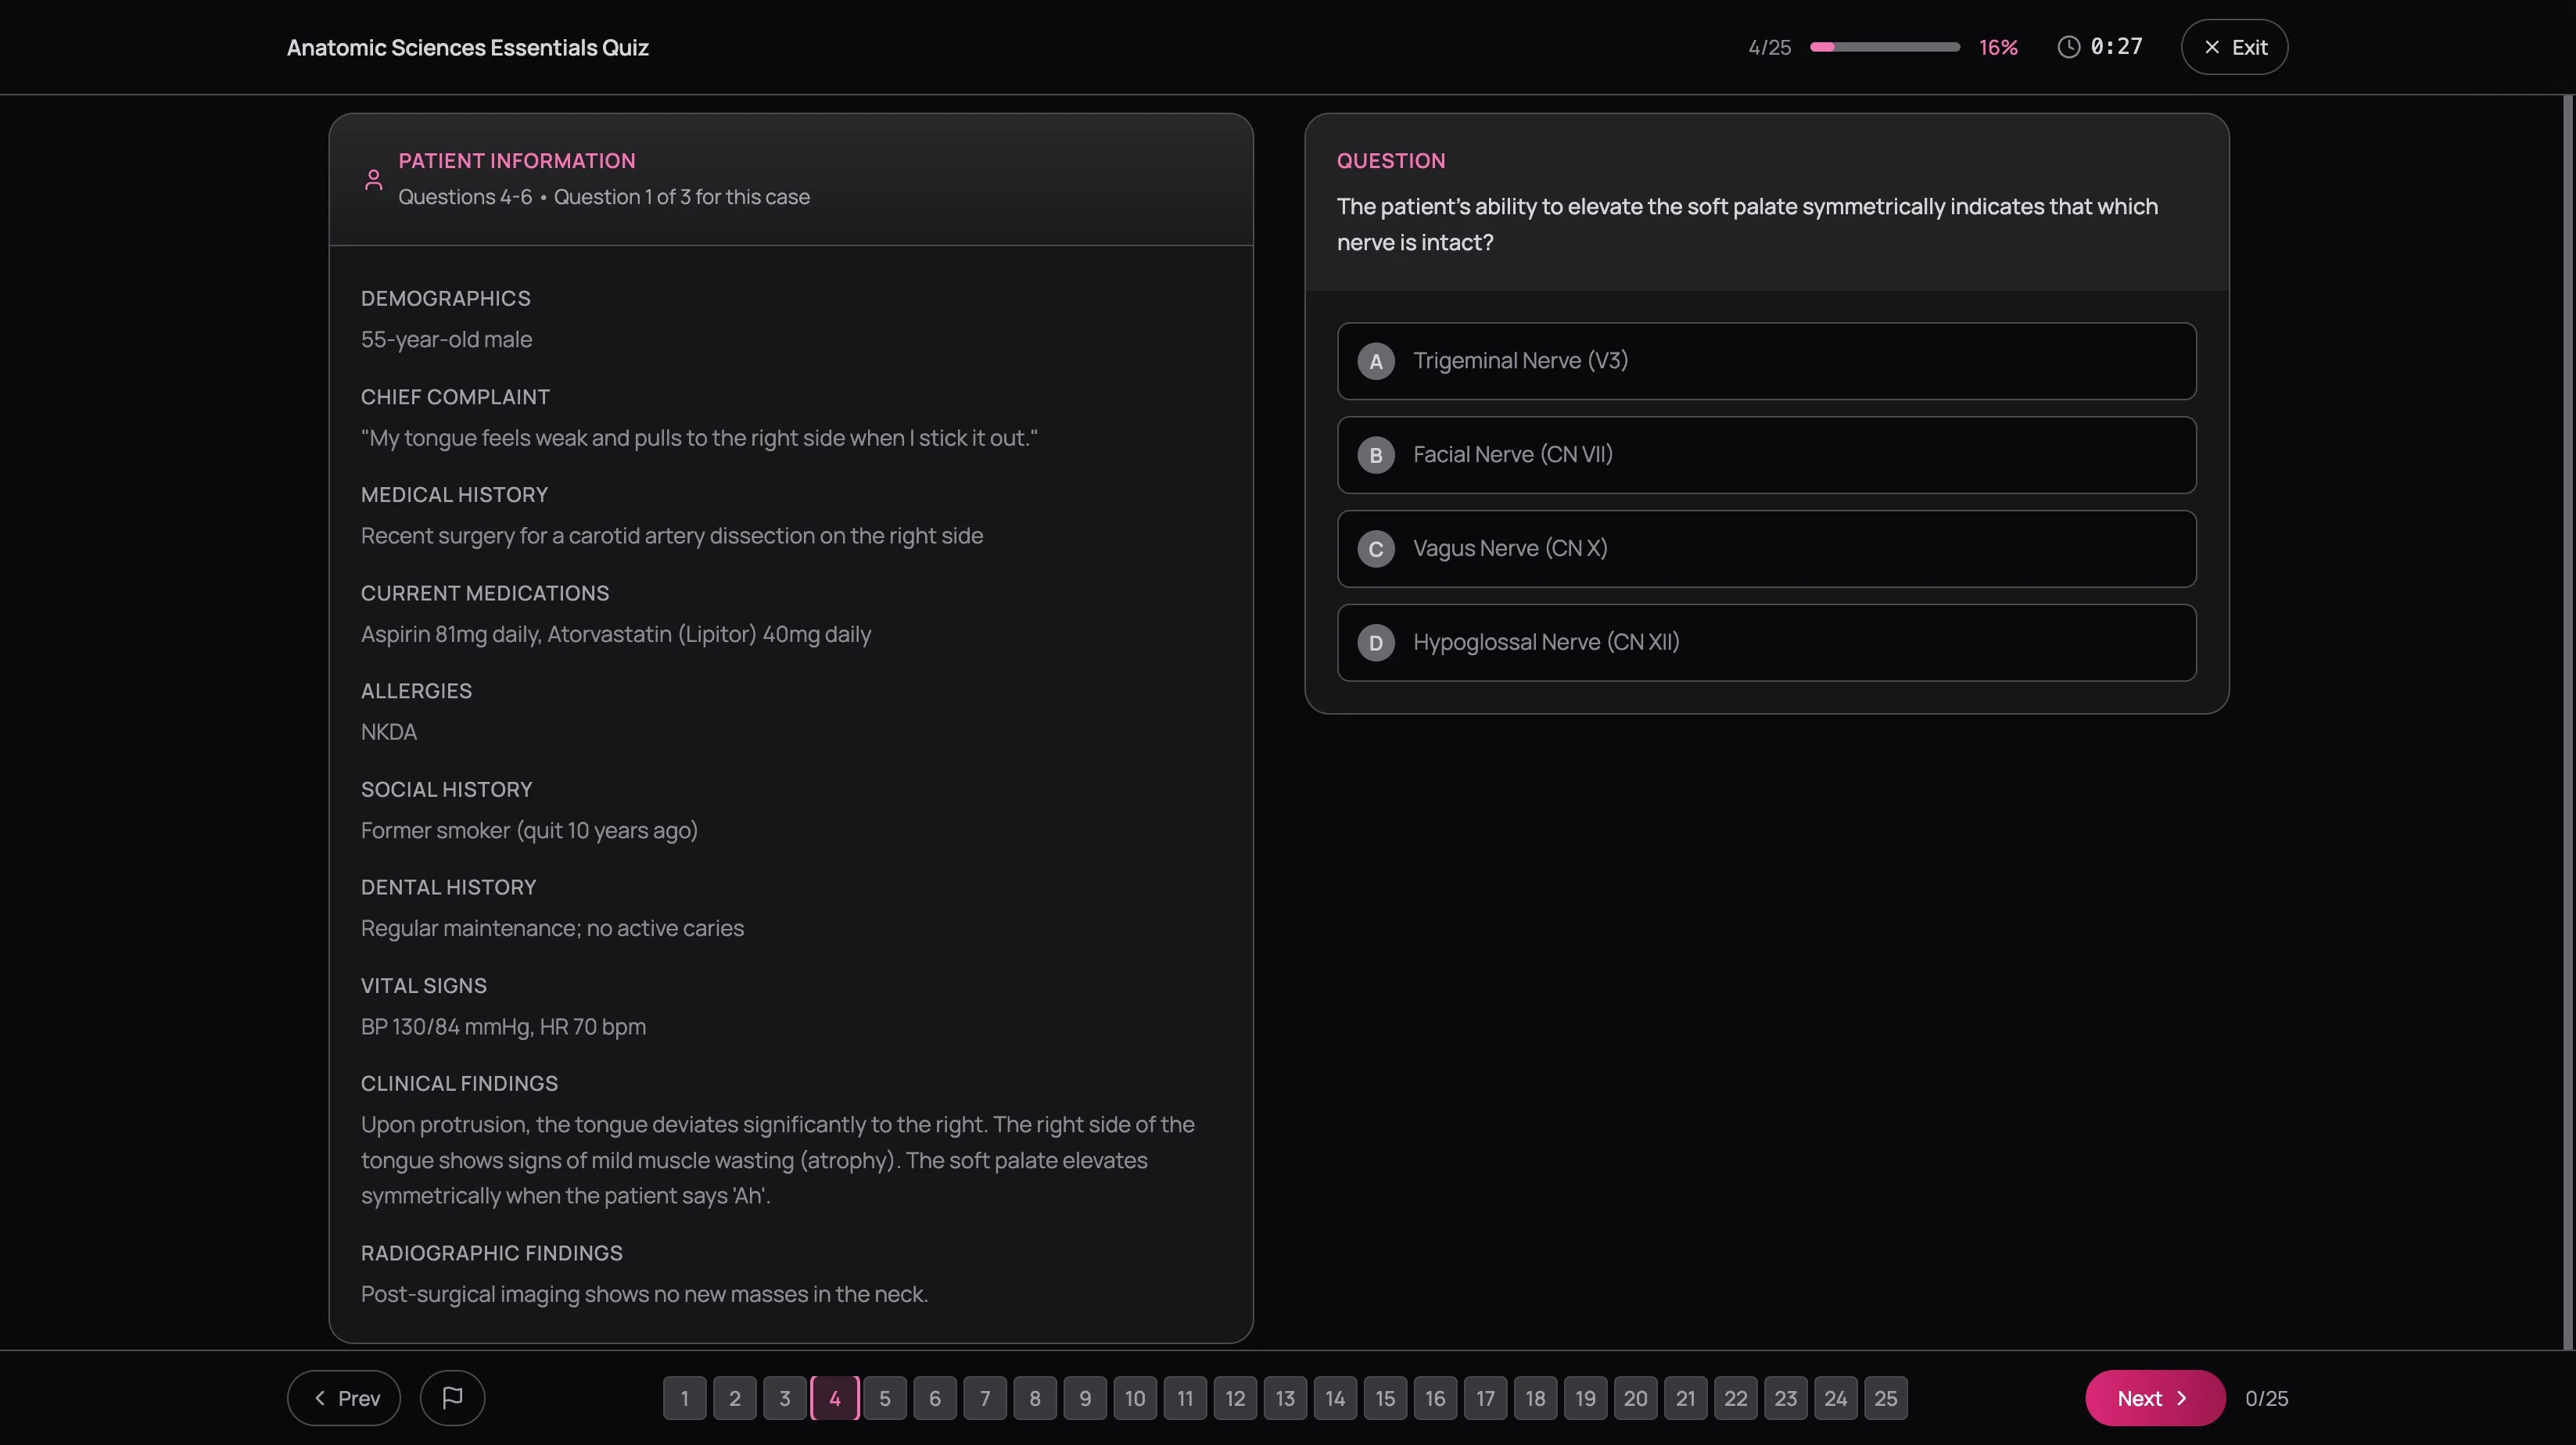
On mobile, the scenario stacks above the question — scroll up to reference the details when you need them.
Here's the technique that saves time: on your first read, extract three things — the patient's age, their medications, and the chief complaint. Those three details answer or eliminate options on the majority of case-based questions. Everything else (imaging findings, lab values) is supporting detail you reference as needed. Budget 3–4 minutes for a full case block, not 90 seconds per individual question — these are meant to be worked as a group.
Read the scenario once, extract the key facts, and work through the questions. Going back to check a specific detail is fine. Re-reading the entire patient history four times is not — it burns clock and adds nothing after the first pass.
Testlets
Testlets are a format you'll see on INBDE-style quizzes. They present a biostatistics scenario — a research study, a data table, a forest plot, Kaplan-Meier curves — in a pinned panel on the left, with questions about interpreting that data on the right.
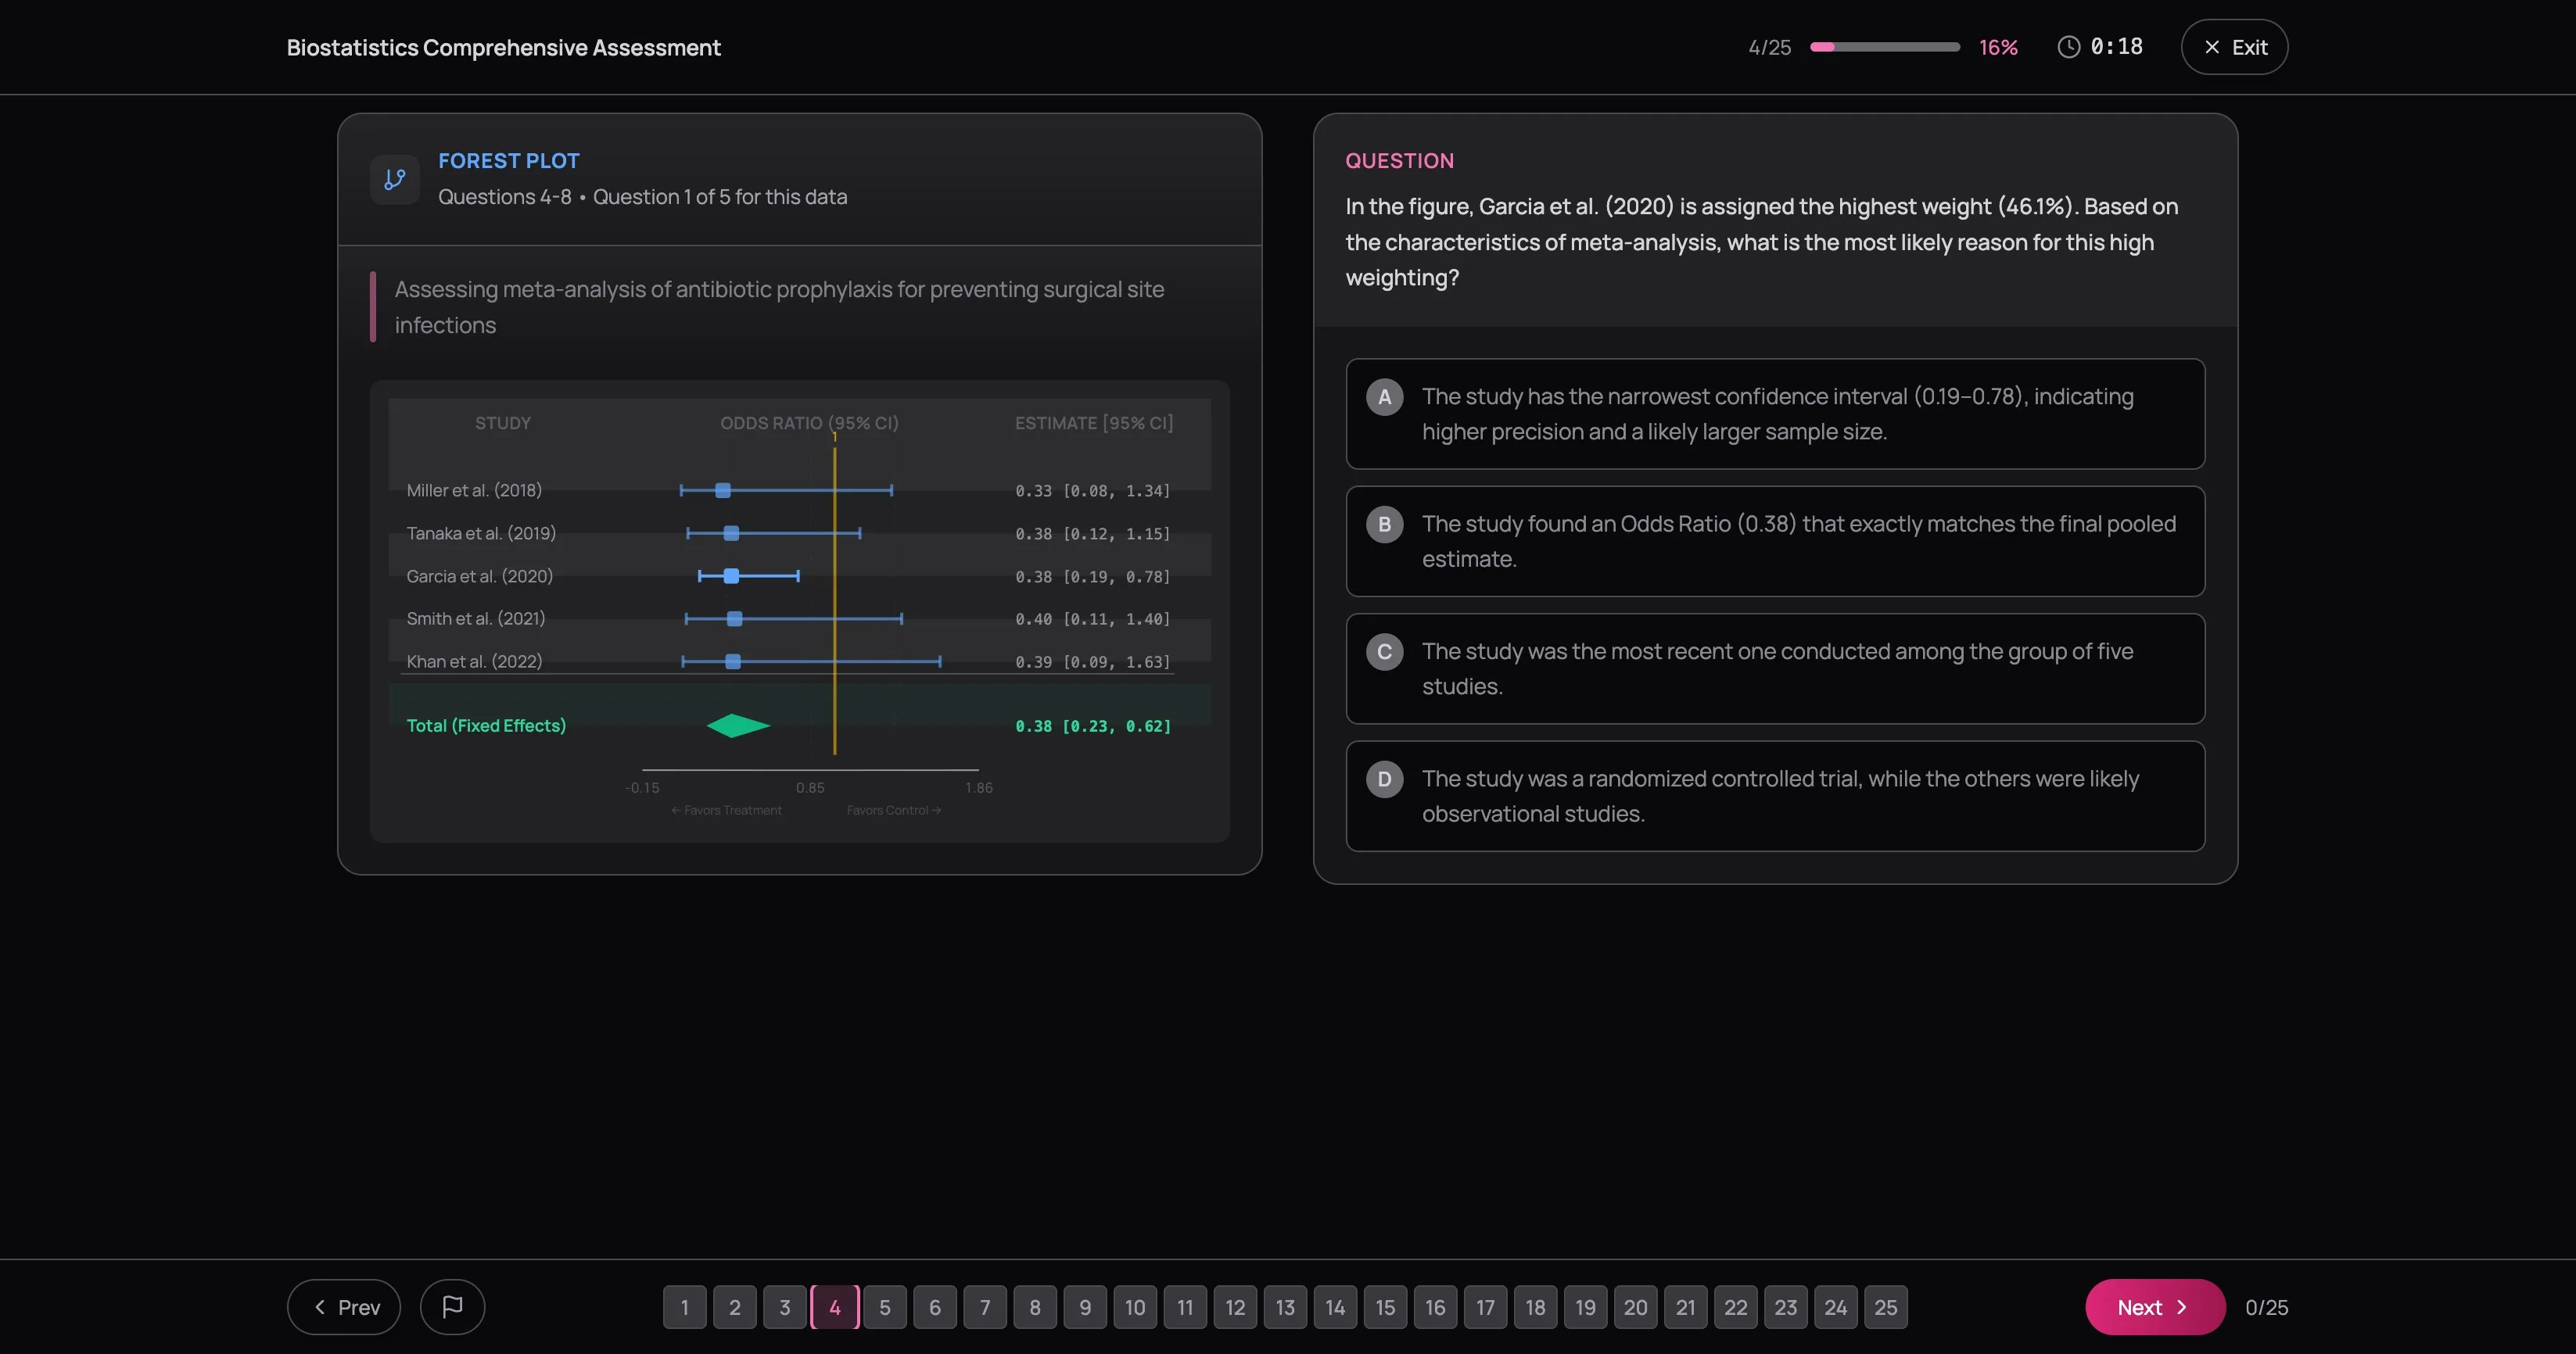
The questions test whether you can actually read the data, not just whether you memorized the formulas. Can you identify the confidence interval that crosses one? Can you spot which treatment arm showed significance?
Here's the one thing most people miss: check the sample size first. A study with n=12 should make you skeptical of strong conclusions. Then note the study design (RCT vs. observational) and the primary outcome. With those three facts in your head, you can answer most testlet questions without staring at the panel again.
The Two-Pass Strategy
This is the single most effective test-taking technique for multiple-choice dental exams. It works on practice quizzes. It works on the real thing. And almost nobody does it.
First pass: answer or flag, never stall
Go through every question in order. If you know the answer, select it and move on. If you're unsure, make your best guess, flag it, and move on. If you're completely lost, flag it and move on without answering.
The key rule: never spend more than 90 seconds on a question during the first pass. Stalling on hard questions early burns time and mental energy you need later.
Second pass: revisit flags with fresh context
Open the question grid. Your flagged questions have blue rings — click through them one by one. Something interesting happens here: questions that stumped you ten minutes ago often become clearer after you've seen related questions later in the quiz. A case scenario describing a mandibular fracture might unlock the anatomy question about inferior alveolar nerve distribution that you flagged earlier.
Update your answers. Unflag questions you're now confident about.
Final check: scan for blanks
Scan the grid for any tiles without a green background — those are unanswered. Pick your best option and commit. At this stage — after you've already revisited your flags in the second pass — further changes without new information tend to hurt more than they help. If you didn't gain any new insight, trust the answer you already have.
This strategy works because it separates answering from agonizing. Most people try to do both simultaneously, spending four minutes on question 12 and then rushing through the last ten. The two-pass approach guarantees you see every question with a clear head — and the candidates who pass aren't always the ones who knew the most — they're the ones who didn't leave marks on the table.
Submitting and Exiting
On the last question, the Next button becomes Submit. Click it and you're done — unless you have unanswered questions. If you do, a dialog tells you exactly how many you left blank and warns that unanswered questions will be marked incorrect. You can go back ("Review Questions") or submit as-is ("Submit Anyway").
Remember — no penalty for guessing. Every blank is a guaranteed zero. If you're out of time or ideas, click something — anything — before you hit Submit.
Need to leave mid-quiz? Hit Exit in the top-right corner. You'll get a confirmation: "Your progress will not be saved." No save-and-resume — this mirrors real exam conditions. Even a rough attempt you submit is better than an abandoned one, because you get data for your dashboard and the results page teaches you more than the quiz itself.
Next Up
You submitted. Now what? Don't just glance at the score — the results page is where the real learning happens. Every question gets a full breakdown: why the right answer is right, why each wrong answer is wrong, and what misconception each distractor targets.
Read Understanding Your Results to learn how to extract maximum value from every attempt.